
Mines would have to be Lau Lau. Not familiar with it? Lau Lau is a traditional Hawaiian dish that usually consists of salted fatty meat and fish, wrapped in luau (taro) leaves, then ti leaves. It is then cooked low and slow in either an imu (an underground oven) or a giant stove top steamer.
Every Christmas/New Year, my family gets together to make Lau Lau. This is a family tradition that dates back to probably before I was even born. We gather at my Uncle's house in Haiku around the long picnic table, and form an assembly line, passing down each lau lau down the assembly line until all the ingredients are nestled in there, and then wrap it in foil. We make enough for the WHOLE family, plus left overs to keep in the freezer to eat for the next few months afterwards.
My Uncle is a real live McGuyver. He can always make something out of nothing, and to hold all our lau lau at once to cook, he created a giant slow cooker/steamer out of a galvanized trash can (clean of course, and only used for the lau lau). We would load the cooker to the brim, and let it go for hours and hours, until they were cooked to juicy perfection. It's a time consuming process, but the end result always makes it worthwhile!
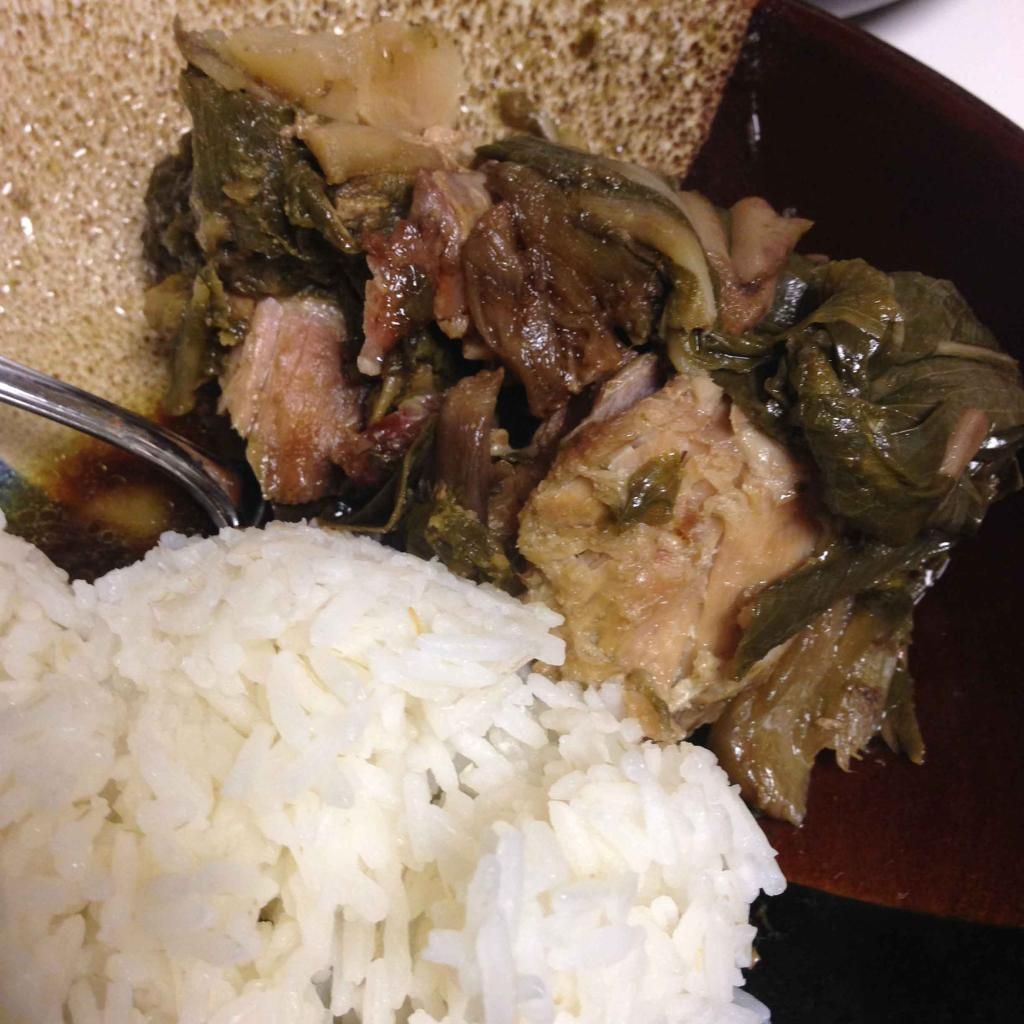
Served with some hot rice and shoyu and or chili pepper water....life cannot get any better than that! It's kind of weird, but I also like to mix some shoyu with vinegar or lemon, and a splash of sesame seed oil as a dipping sauce. My MOST favorite part are the luau leaves! If you've never had them, they're kind of like wilted collard greens or spinach, but SO much flavorful from the drippings of the meat!
Once my personal stash from the freezer is gone, I go through a withdrawal phase. I'll go and get lau lau plates from Da Kitchen, or Pukalani Superette, but:
- It's expensive
- It's not as satisfying
Because of those two things, I decided to take matters into my own hands and make my own in the crock pot when I needed a healthy dose of lau lau. The ingredients are minimal, which is nice, but to make individual packets and wrap them in foil...well, it gets a little tedious! Plus I normally have to do two batches in the slow cooker, but it takes forever! I ain't got time to waste and sit around!
So of course, I whipped up my own "Lazy" Lau Lau. Basically, it's a giant, deconstructed lau lau in the slow cooker, with a couple of non-traditional ingredients. Yes, you need to blanch stuff, but ot having to individually wrap each lau lau saves time and allows you to do a whole giant lau lau in one batch rather than split them into two batches! Here's how you can do it:
I started by washing my ti-leaves and luau leaves in a sink full of water. Just swish them around until the dirt settles to the bottom of the sink. Drain the sink and pat the leaves dry.

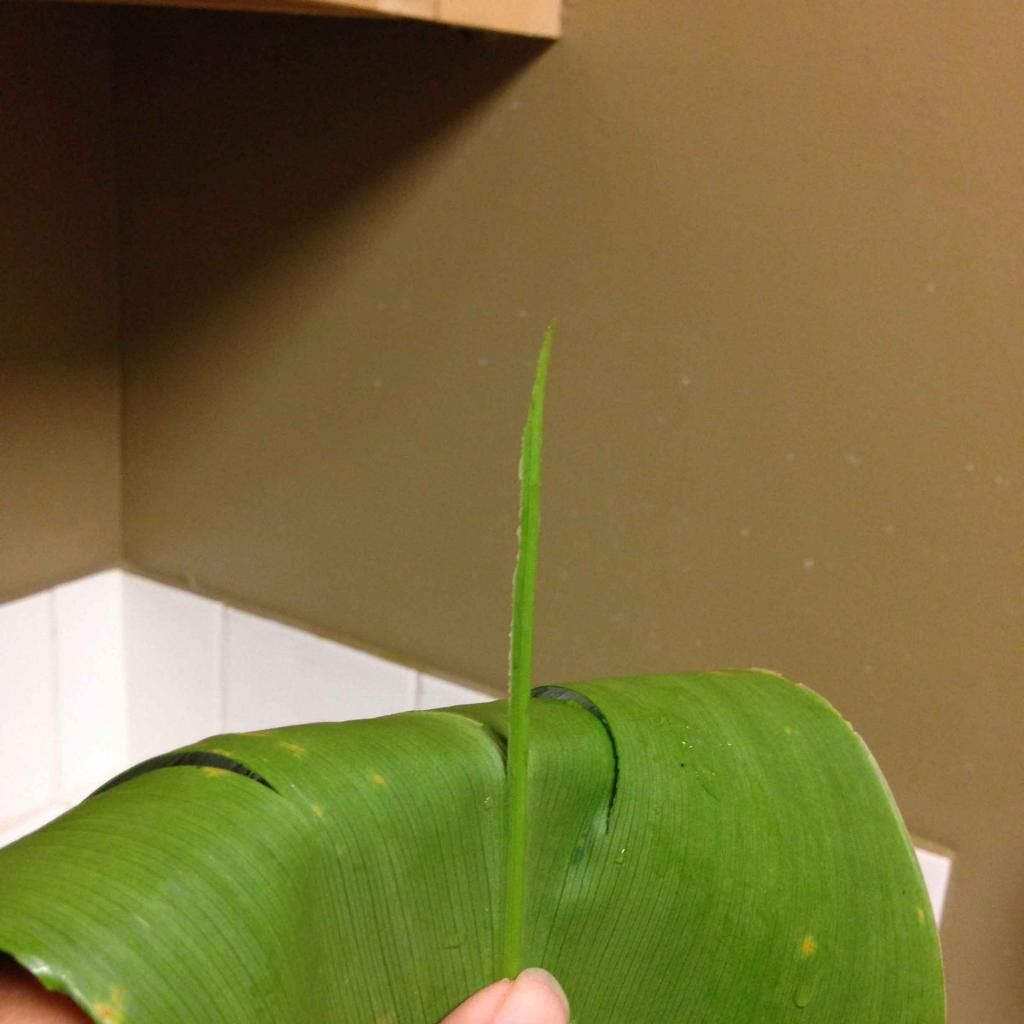
Prepare the ti-leaves by removing the center stem, so that the leaf becomes flimsy. Do this by cutting a tiny slit in the backbone of the stem towards the top of the leaf. The knife should be at a slight angle from the cutting board, and the sharp edge of the blade going towards the bottom stem of the leaf.

Bring the leaf upright, and remove the backbone of the leaf by folding back the top flimsy part of the leaf and pulling it down and off the ti leaf.
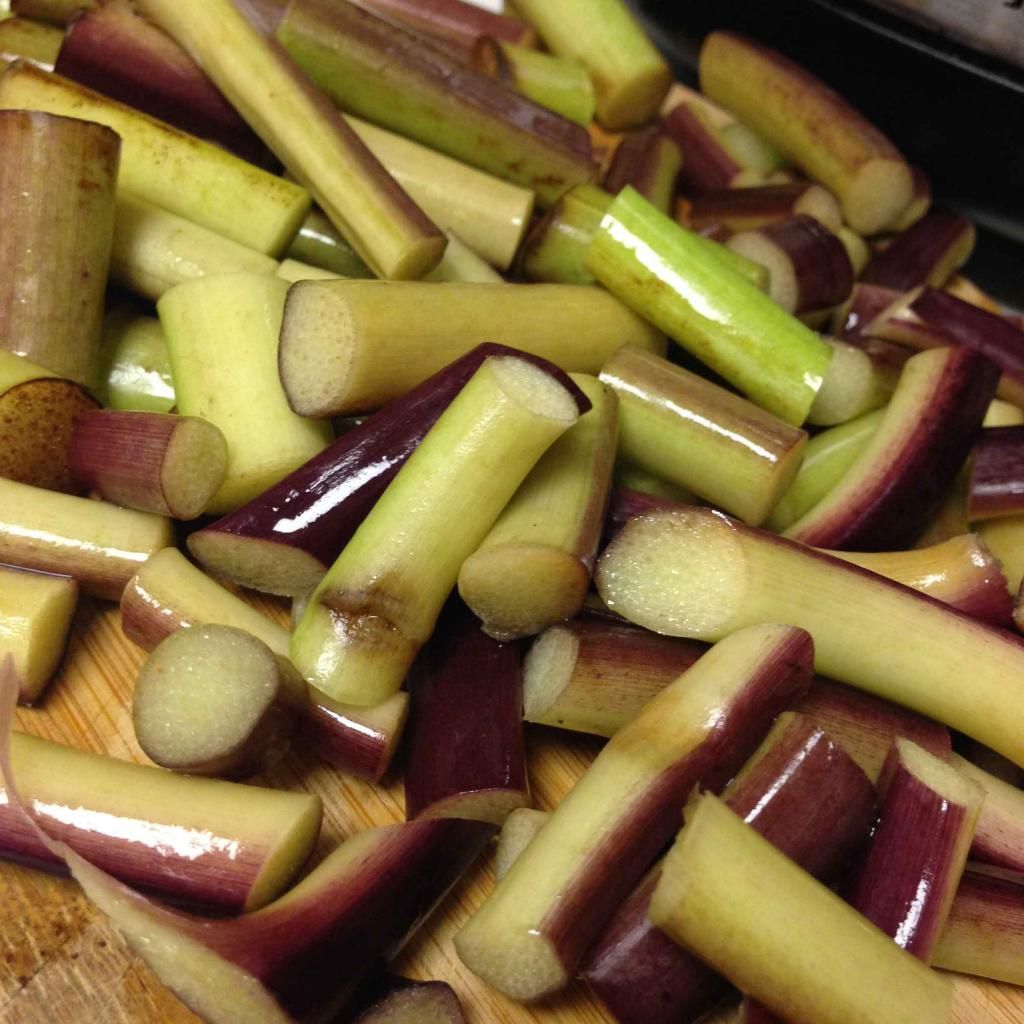
Set the ti-leaves aside. Now to prepare the luau leaves! Start by chopping off the stem from the leaves. These do not go to waste! They'll cook up nicely with everything else! Chop the stems into 1-2 inch pieces. This doesn't have to be perfect :) Put them aside in a large bowl.
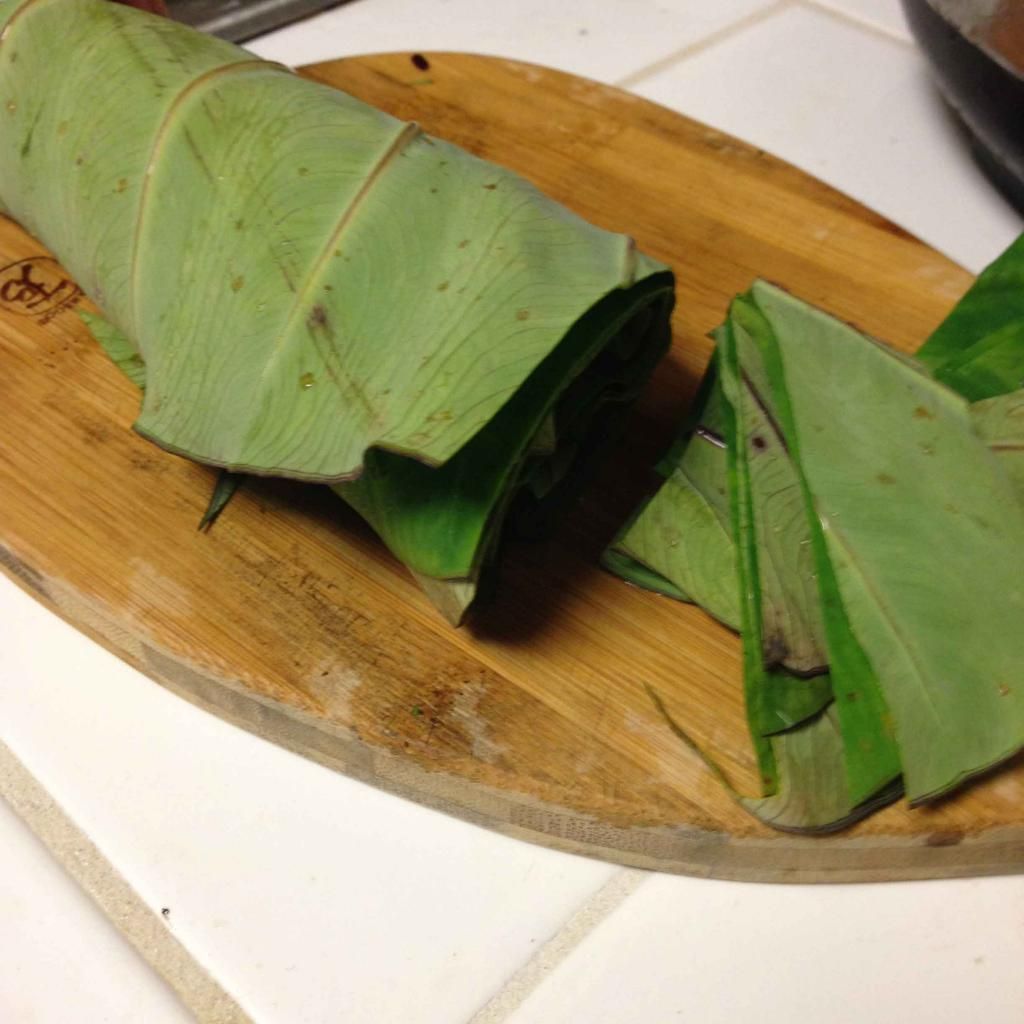
Now for the leaves. Grab 3 or 4 leaves, and roll them up all together. Slice into 2 inch-ish pieces and put in the bowl with the stems. We need to slice them up so they'll blanch easily.
In the biggest pot you have, bring some water to a boil. In batches, throw a heaping moundful of the leaves (not stems) into the pot. They'll go above the top of the pot. This is OK. Our goal is to wilt the leaves so that they'll fit in the slow cooker! With tongs, turn the leaves in the water until they've wilted and shrink. This will take about a minute or two. Transfer to another bowl for now. Repeat until all leaves are done.

Let's prepare the meat! Cut your pork into cubes. Transfer to a bowl, sprinkle with coarse Hawaiian salt and mix to distribute thoroughly.
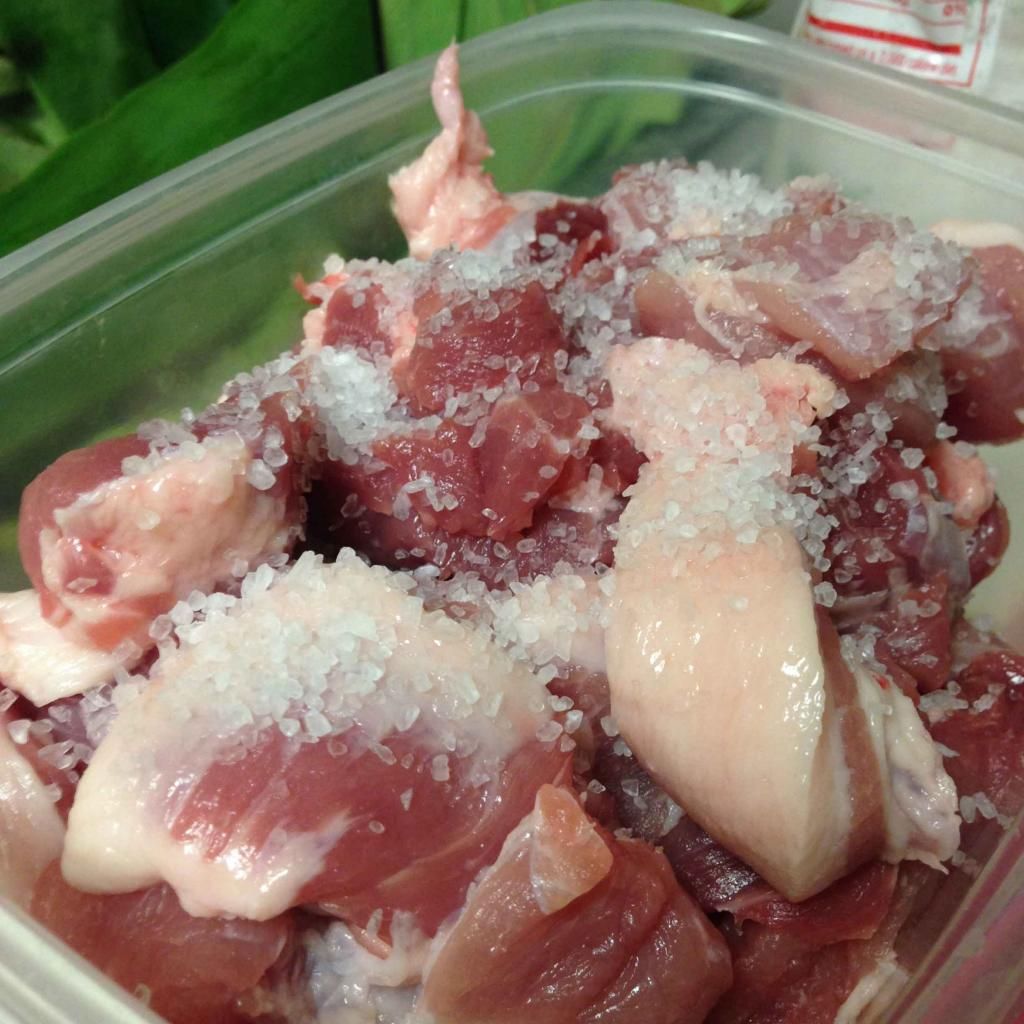
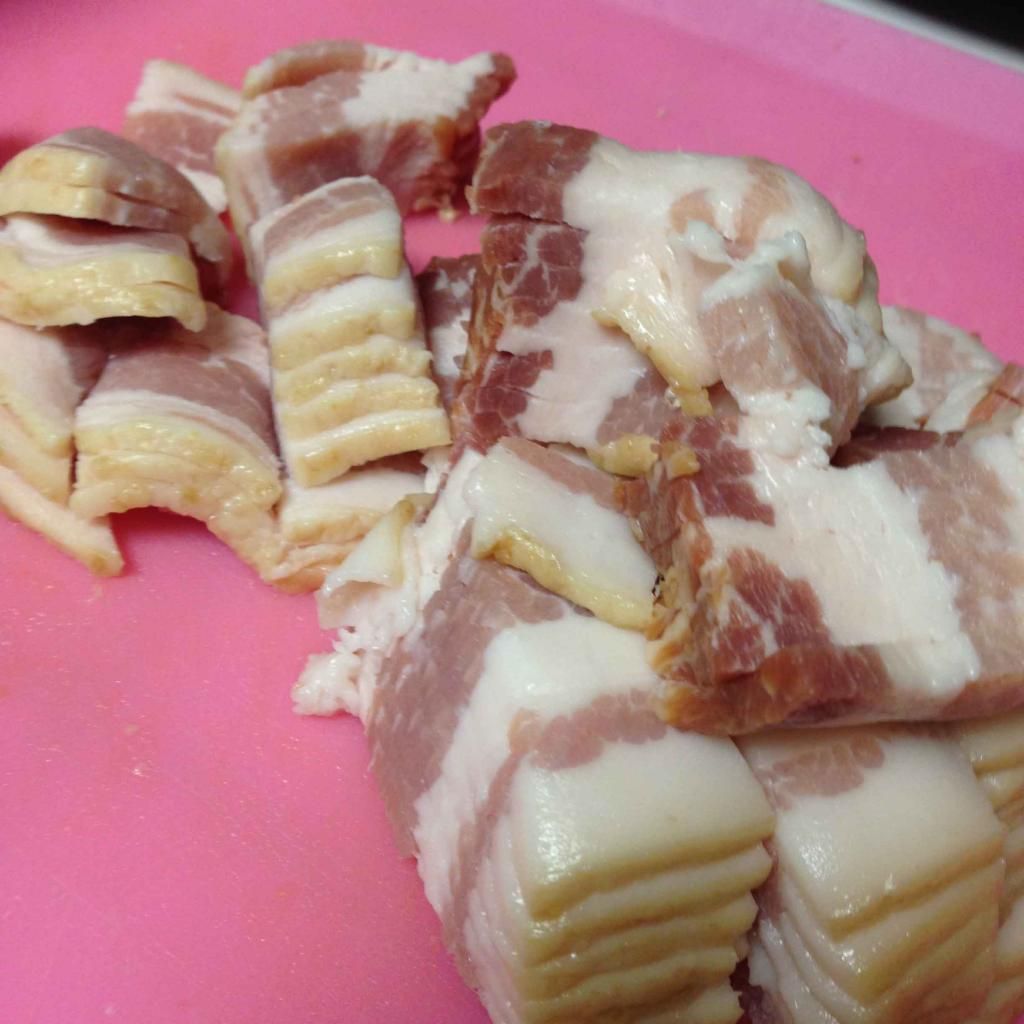
I had some leftover bacon in the fridge that needed to be used up, so I thought, meh, WHY NOT? It's bacon, it'll only add flavor :) So I chopped that into 1/2 inch slices and mixed it in with the pork, too! Let the meat mixture sit on the side while you prepare the rest of the ingredients.
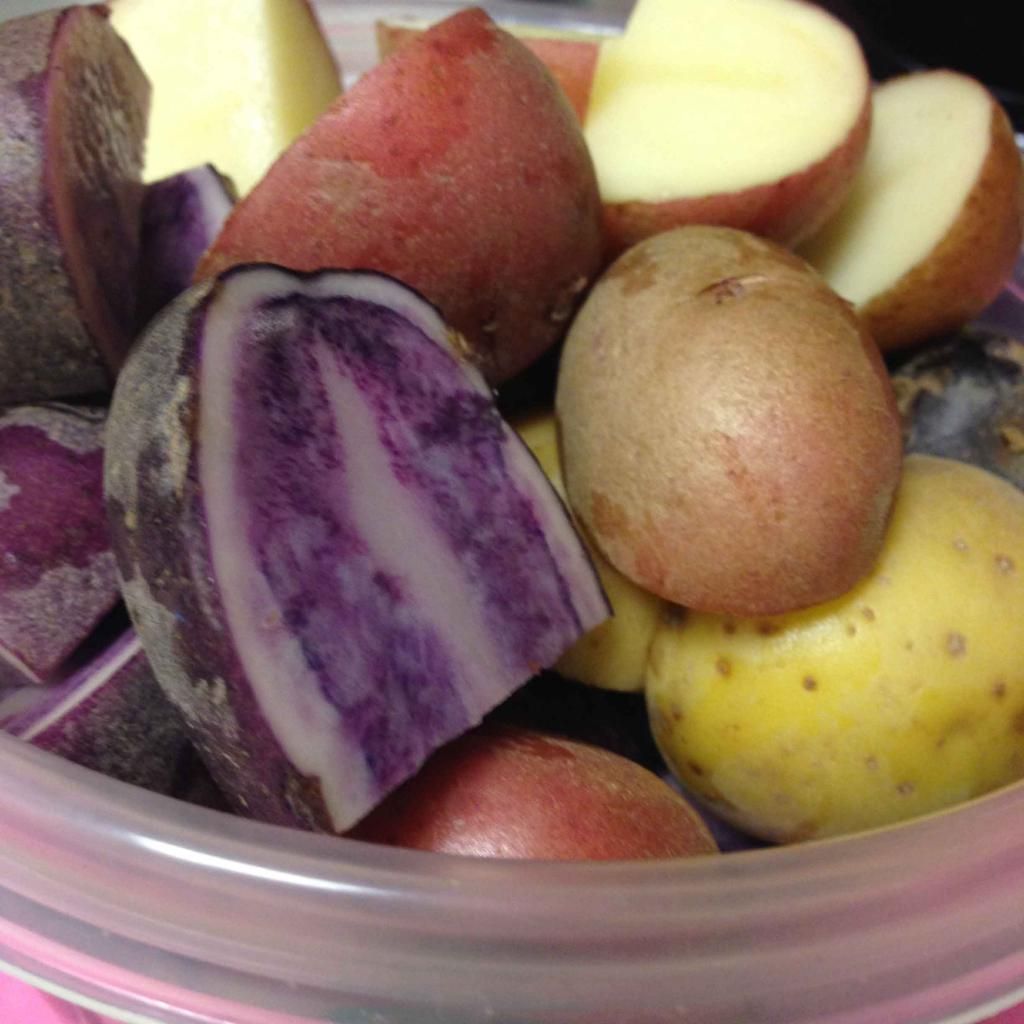
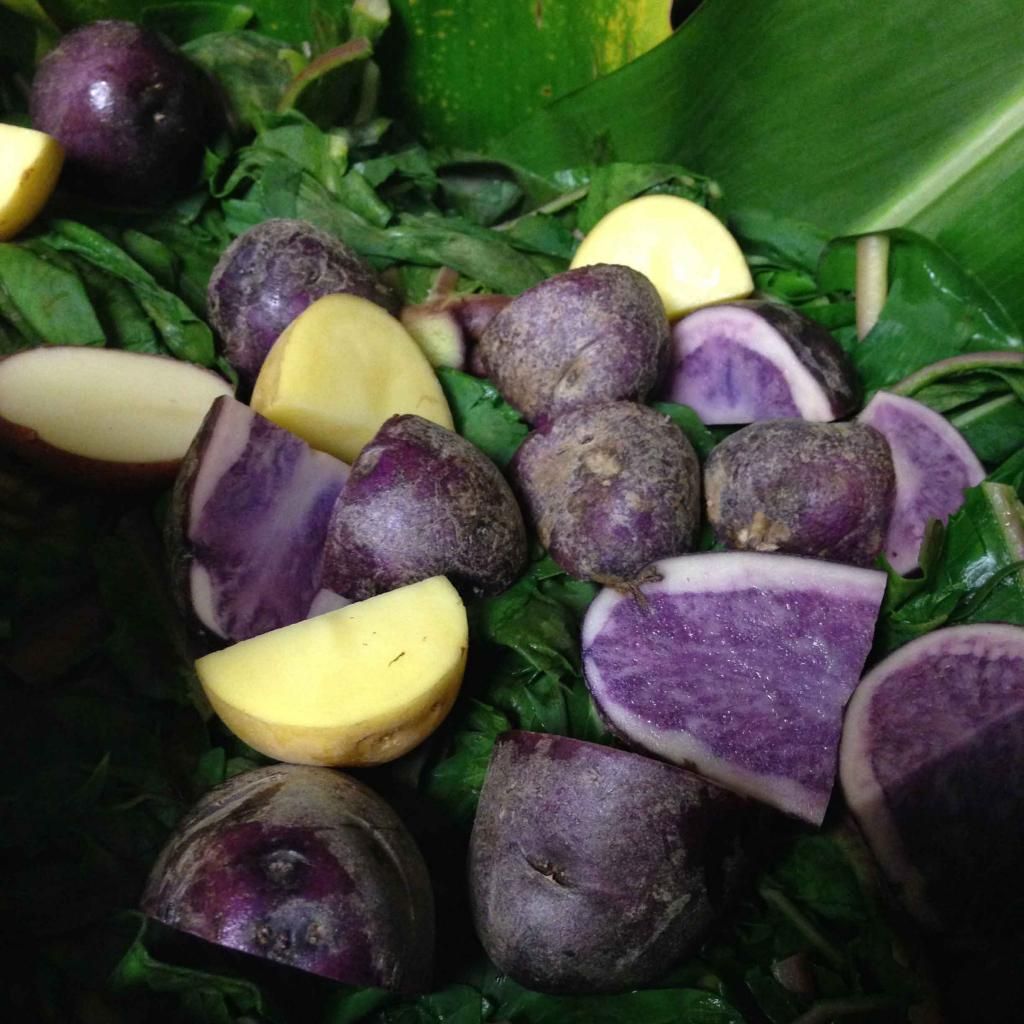
I LOVE potatoes. I really wanted to use sweet potatoes, but didn't want to spend a whole lot more, so I decided to use up my small potato mix from Costco! They are mini red, yellow and purple potatoes that come in a 5lb bag, and I had a pound or so left. So I quartered those and set them aside! Feel free to use sweet potatoes too! I didn't peel mines because I like the skin.....and I'm lazy LOL. But if you don't like skins, peel em! Again, set those aside in a separate bowl. All these bowls make it easier to assemble our giant lau lau.
Now it's time to prepare the slow cooker! For good measure, I sprayed the inside of my 6qt slow cooker with non-stick cooking spray. I then lined the inside of the slow cooker with ti-leaves in a criss - cross pattern, probably about 4-5 leaves. Sorry folks, forgot to take a pic! Just make sure the insides of your slow cooker isn't showing, and that the walls are covered with the leaves!
Now it's time to layer! Start by laying half of your potatoes and luau stems at the bottom of the slow cooker. Then layer half of your meat mixture.
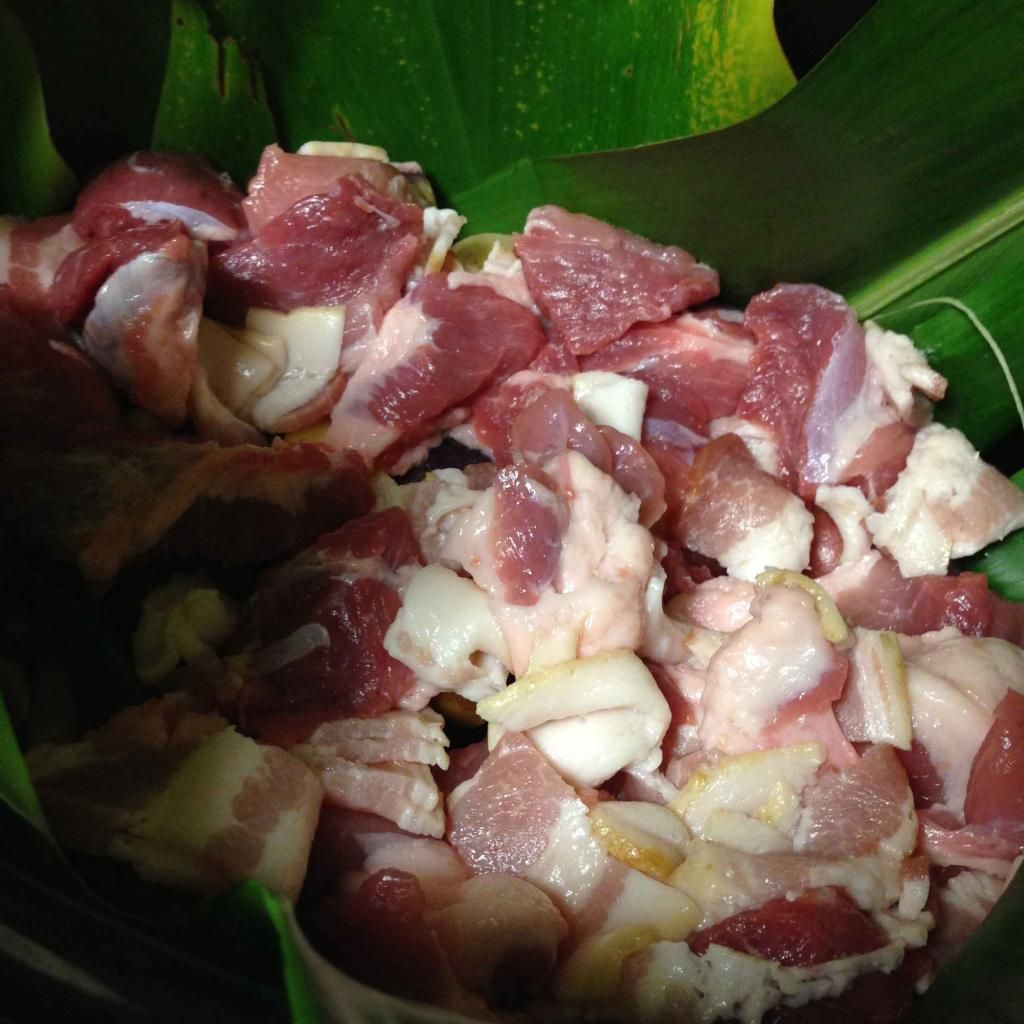
Next, put half of the blanched luau leaves over the meat, and repeat with the potatoes, stems, meat, and the ret of the luau leaves!
Finally, cover the top with more ti leaves, and fold edges of the ti leaf lining over the top layer. Pour 1/2 cup of water over everything.

Cook on low for at LEAST 12 hours. This is important! If the luau leaves aren't cooked long enough, they'll make your throat itchy!
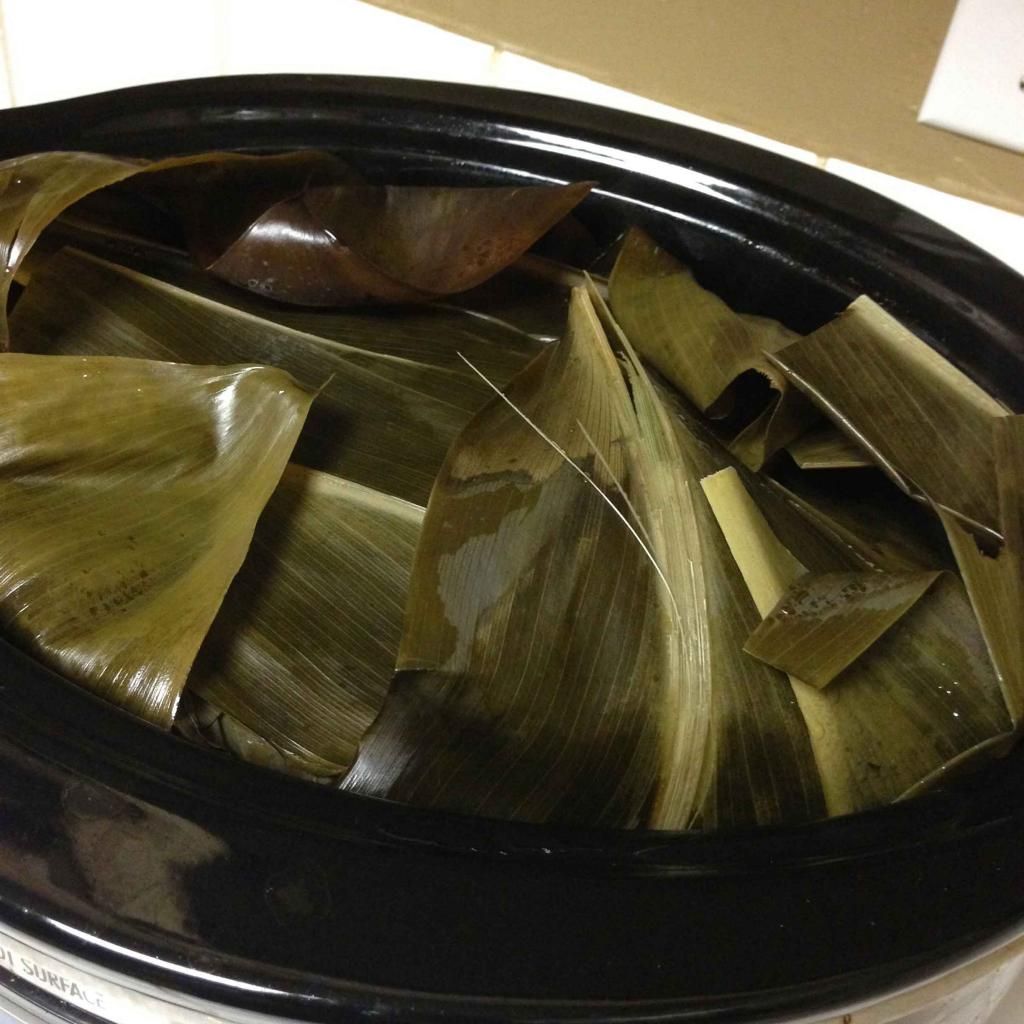
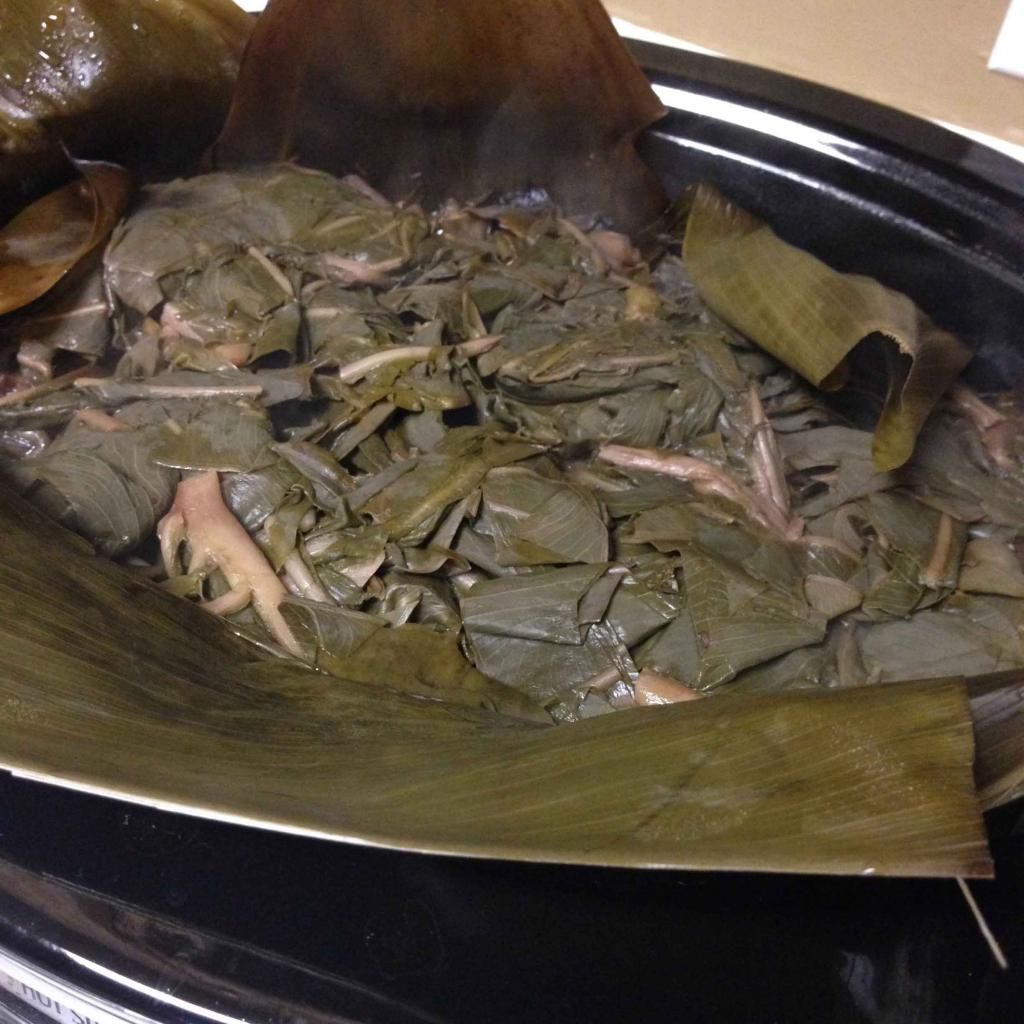
And this is what it looks like before taking the top layer of ti leaves off! Do not eat the ti-leaves! Obviously they aren't poisonous, but they are used to add flavor and aroma to the lau lau. Take that top layer of ti-leaf off and enjoy!
If you can't find ti leaves, You could use banana leaves. And if you can't find taro/luau leaves, I am sure you could use a leafy green like swiss chard, collard greens, kale, or even spinach! If you try any of those, let me know how it is! And with the potatoes, I prefer sweet potatoes, but using the regular potatoes this time was pretty good too! Use what you have! I was very pleased with the results, and will definitely make again. This makes a HUGE amount, so you'll have lots of leftovers!
Here's the recipe:
LAZY LAU LAU
INGREDIENTS
- 2.5-3 lbs bonless pork shoulder or boneless pork country style ribs, cut into cubes
- 2 lbs (two packages) luau (taro) leaves, stems removed, set aside and chopped, leaves blanched
- 1-1.5 lbs potatoes (regular or sweet), sliced/quartered
- 6-10 ti leaves, backbones removed, stems chopped off
- 1/2 package of bacon, sliced into 1/2" pieces
- 1/2 c water
- Hawaiian salt
- Non-stick cooking spray
DIRECTIONS
- Coat the inside of the slow cooker with cooking spray and line the inside with the ti-leaves.
- Sprinkle pork generously with Hawaiian salt, add bacon, and mix thoroughly.
- Layer half of the potatoes and luau stems on the bottom of the pot.
- Layer half of the meat over the potatoes and luau stems.
- Layer half of the blanched luau leaves.
- Repeat steps 3, 4 and 5.
- Cover with more ti-leaves, fold edges of ti leaf lining over, and pour water over everything.
- Cover well and cook on low for 12 hours, until meat and leaves are thoroughly cooked.
- Serve with hot rice and ENJOY!